Overview
To integrate CodeAnt AI with self-hosted GitLab you’ll:- Create an OAuth application in your GitLab instance so CodeAnt AI can authenticate users.
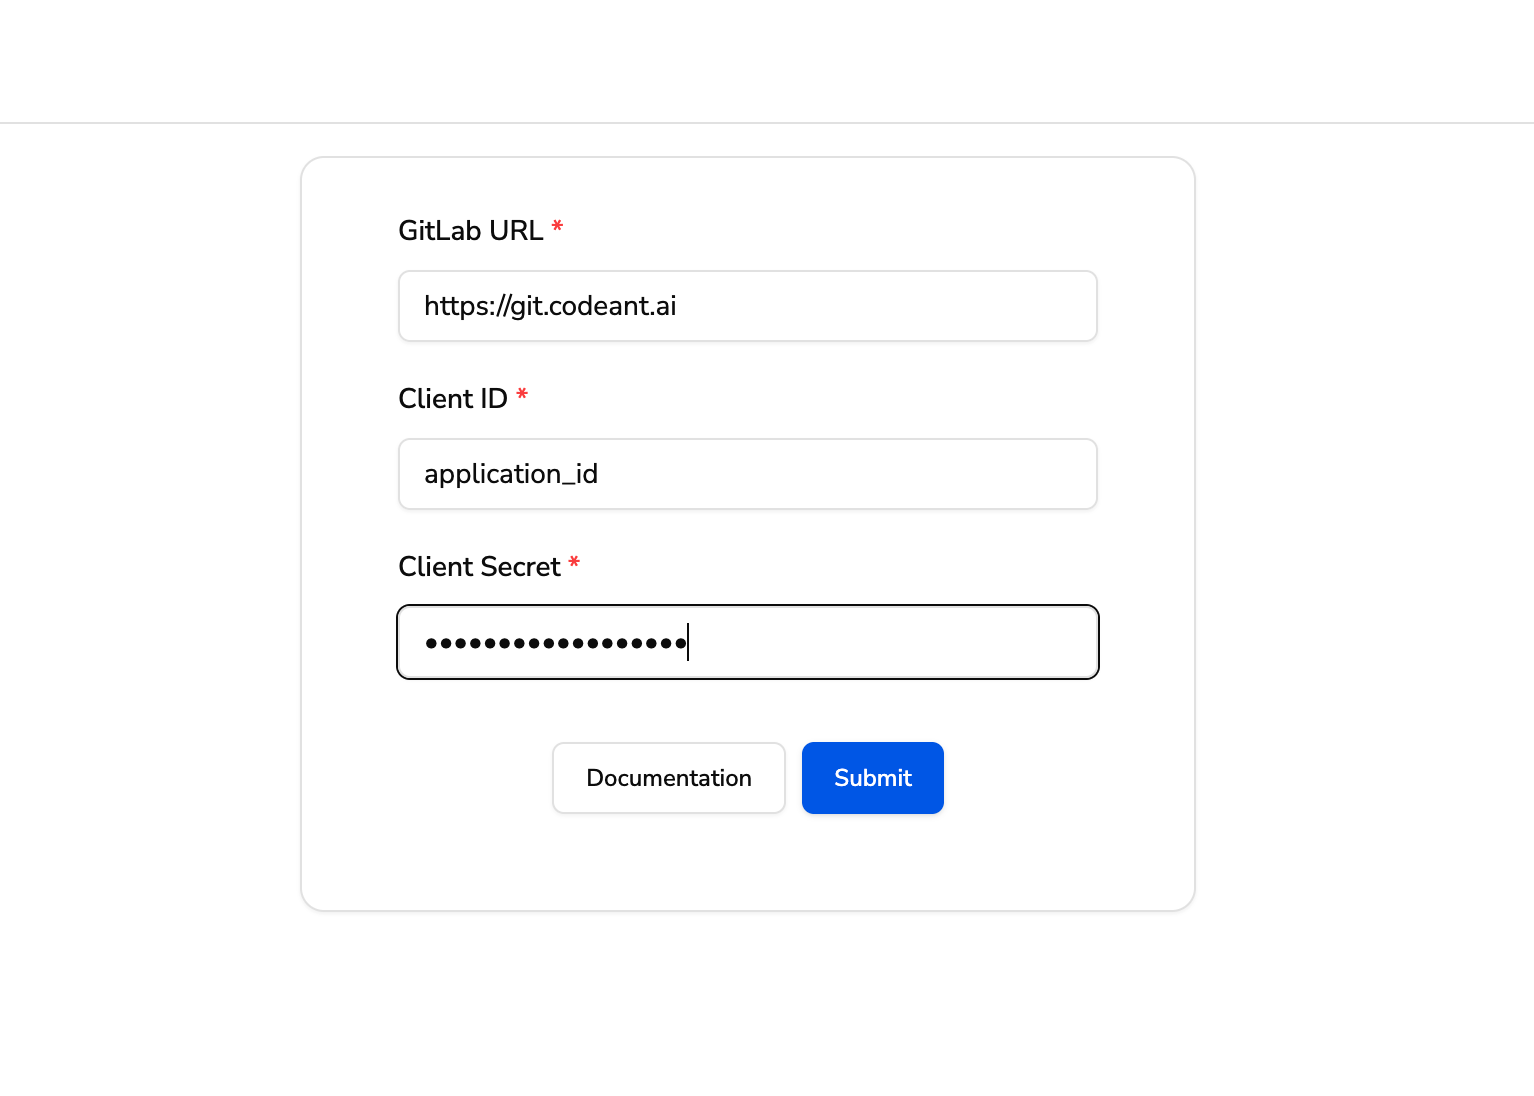
- Sign in to CodeAnt AI, supply your GitLab base URL, and paste the OAuth Application ID and Secret.
- Configure an access token (same flow as GitLab Cloud) - webhooks then install automatically on the projects you select.
Prerequisites
- Administrative access to your self-hosted GitLab instance (to create the OAuth application).
- Maintainer access on the projects you want reviewed (for the access token user).
- A GitLab instance reachable from CodeAnt AI’s network.
If your GitLab instance restricts outbound or inbound traffic, see Network requirements before continuing.
Step 1: Create the GitLab OAuth application
Open application settings
- Log in to your self-hosted GitLab instance as an admin.
- Click your profile avatar in the top-left corner and select Edit Profile.
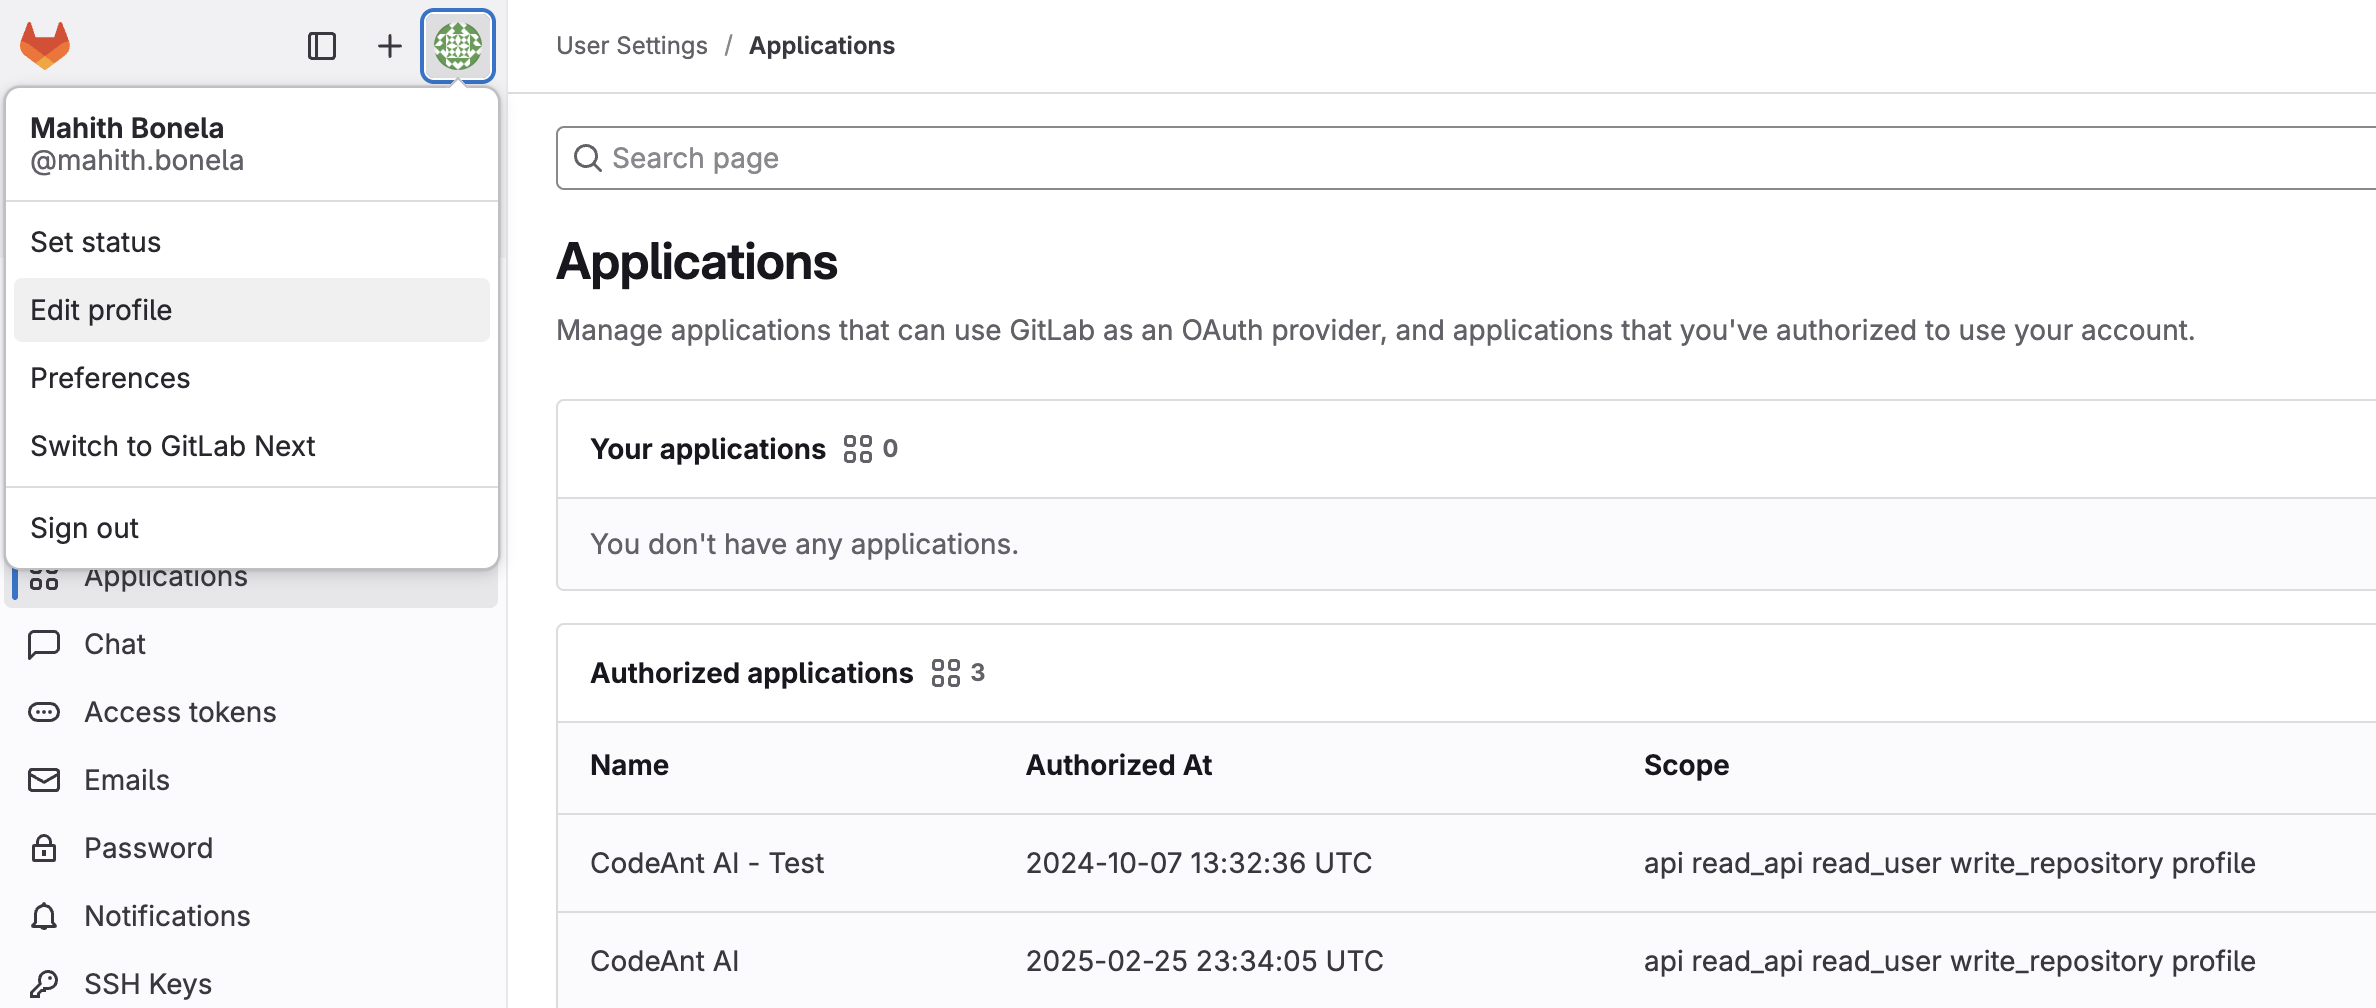
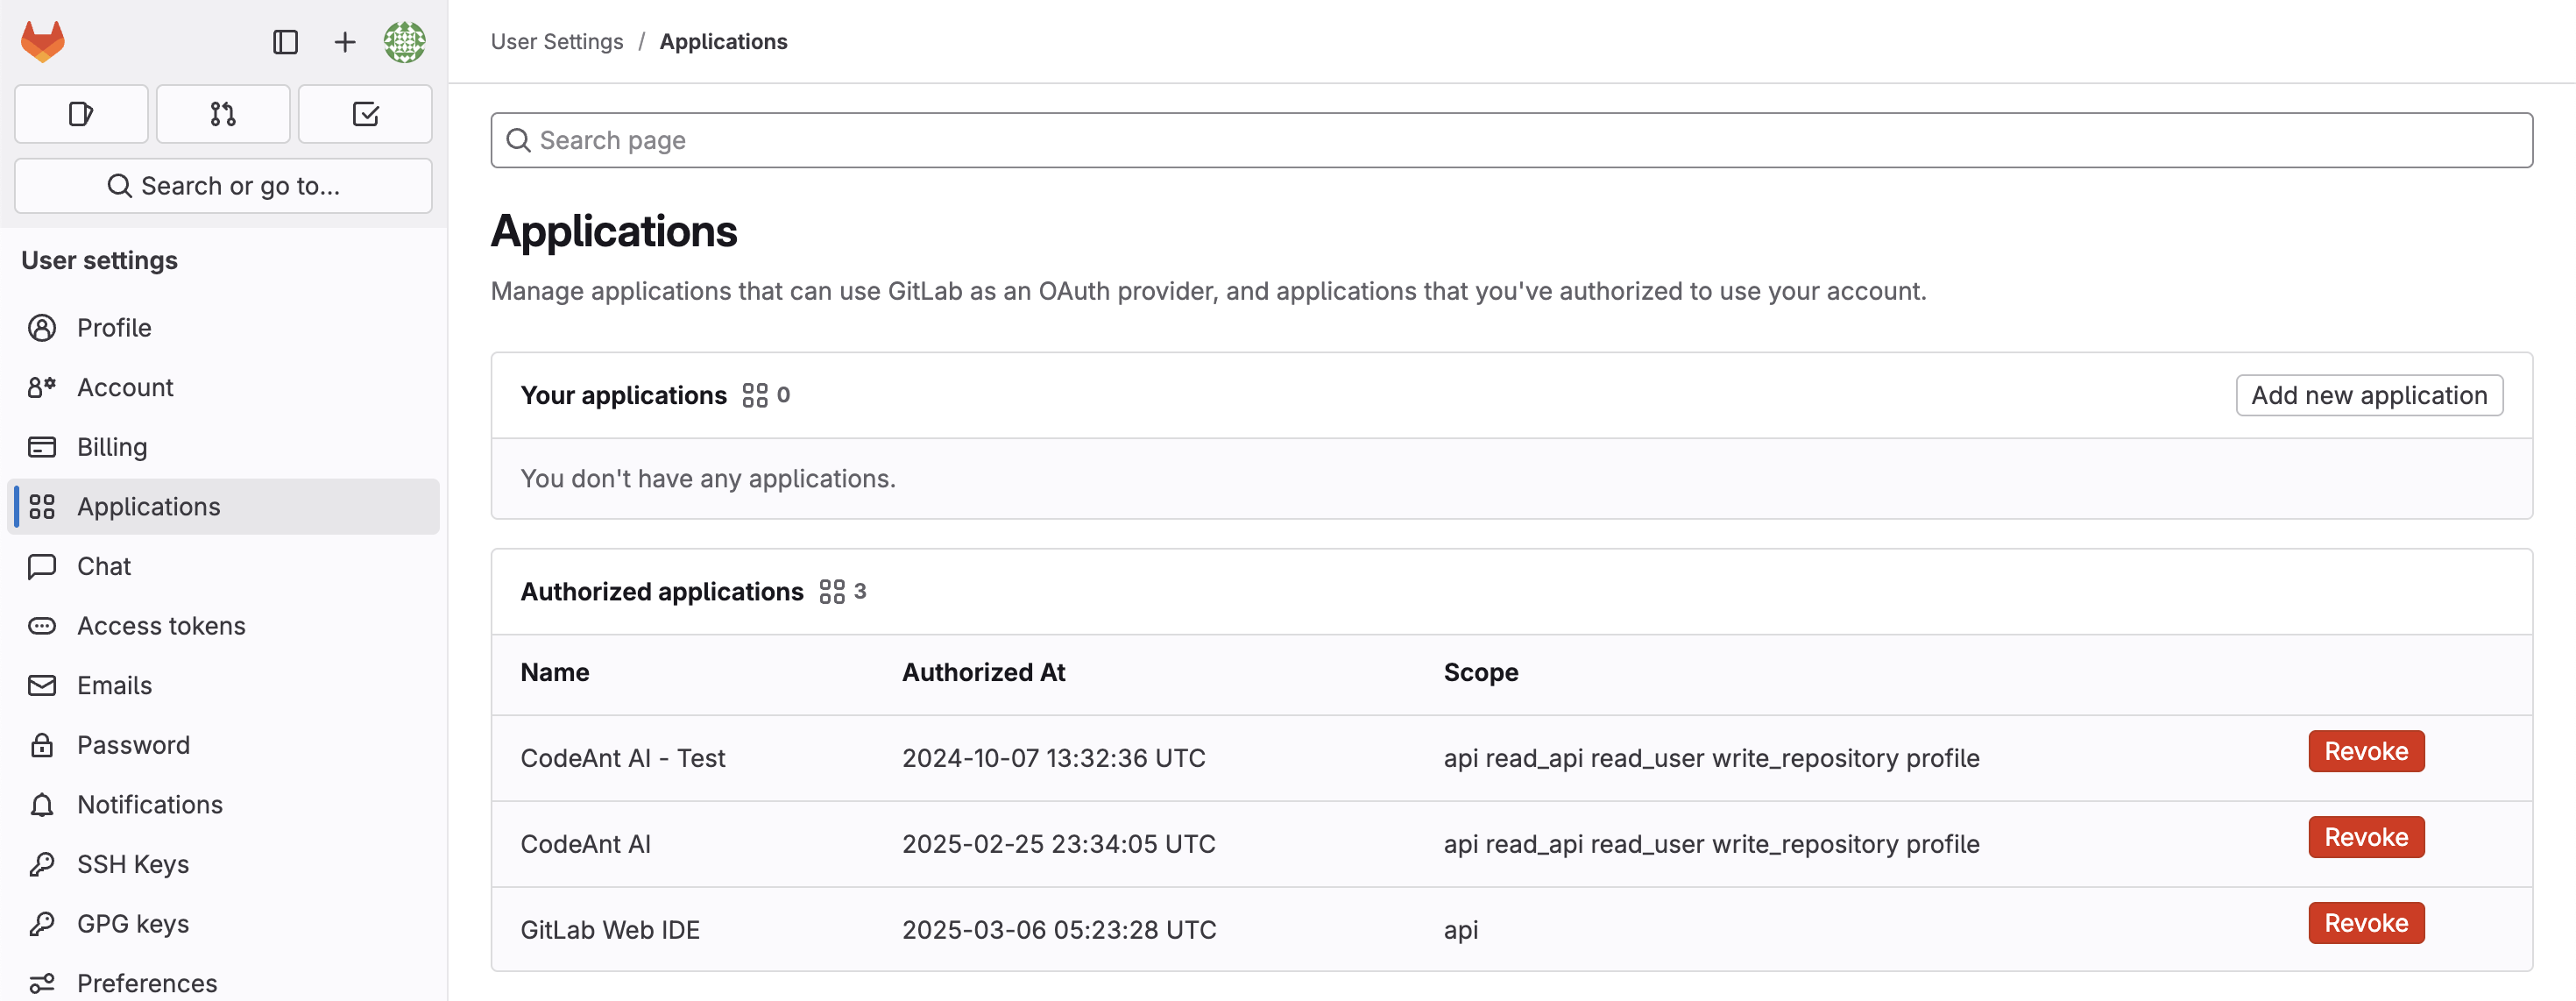
- In the left sidebar, navigate to Applications, then click Add new application.
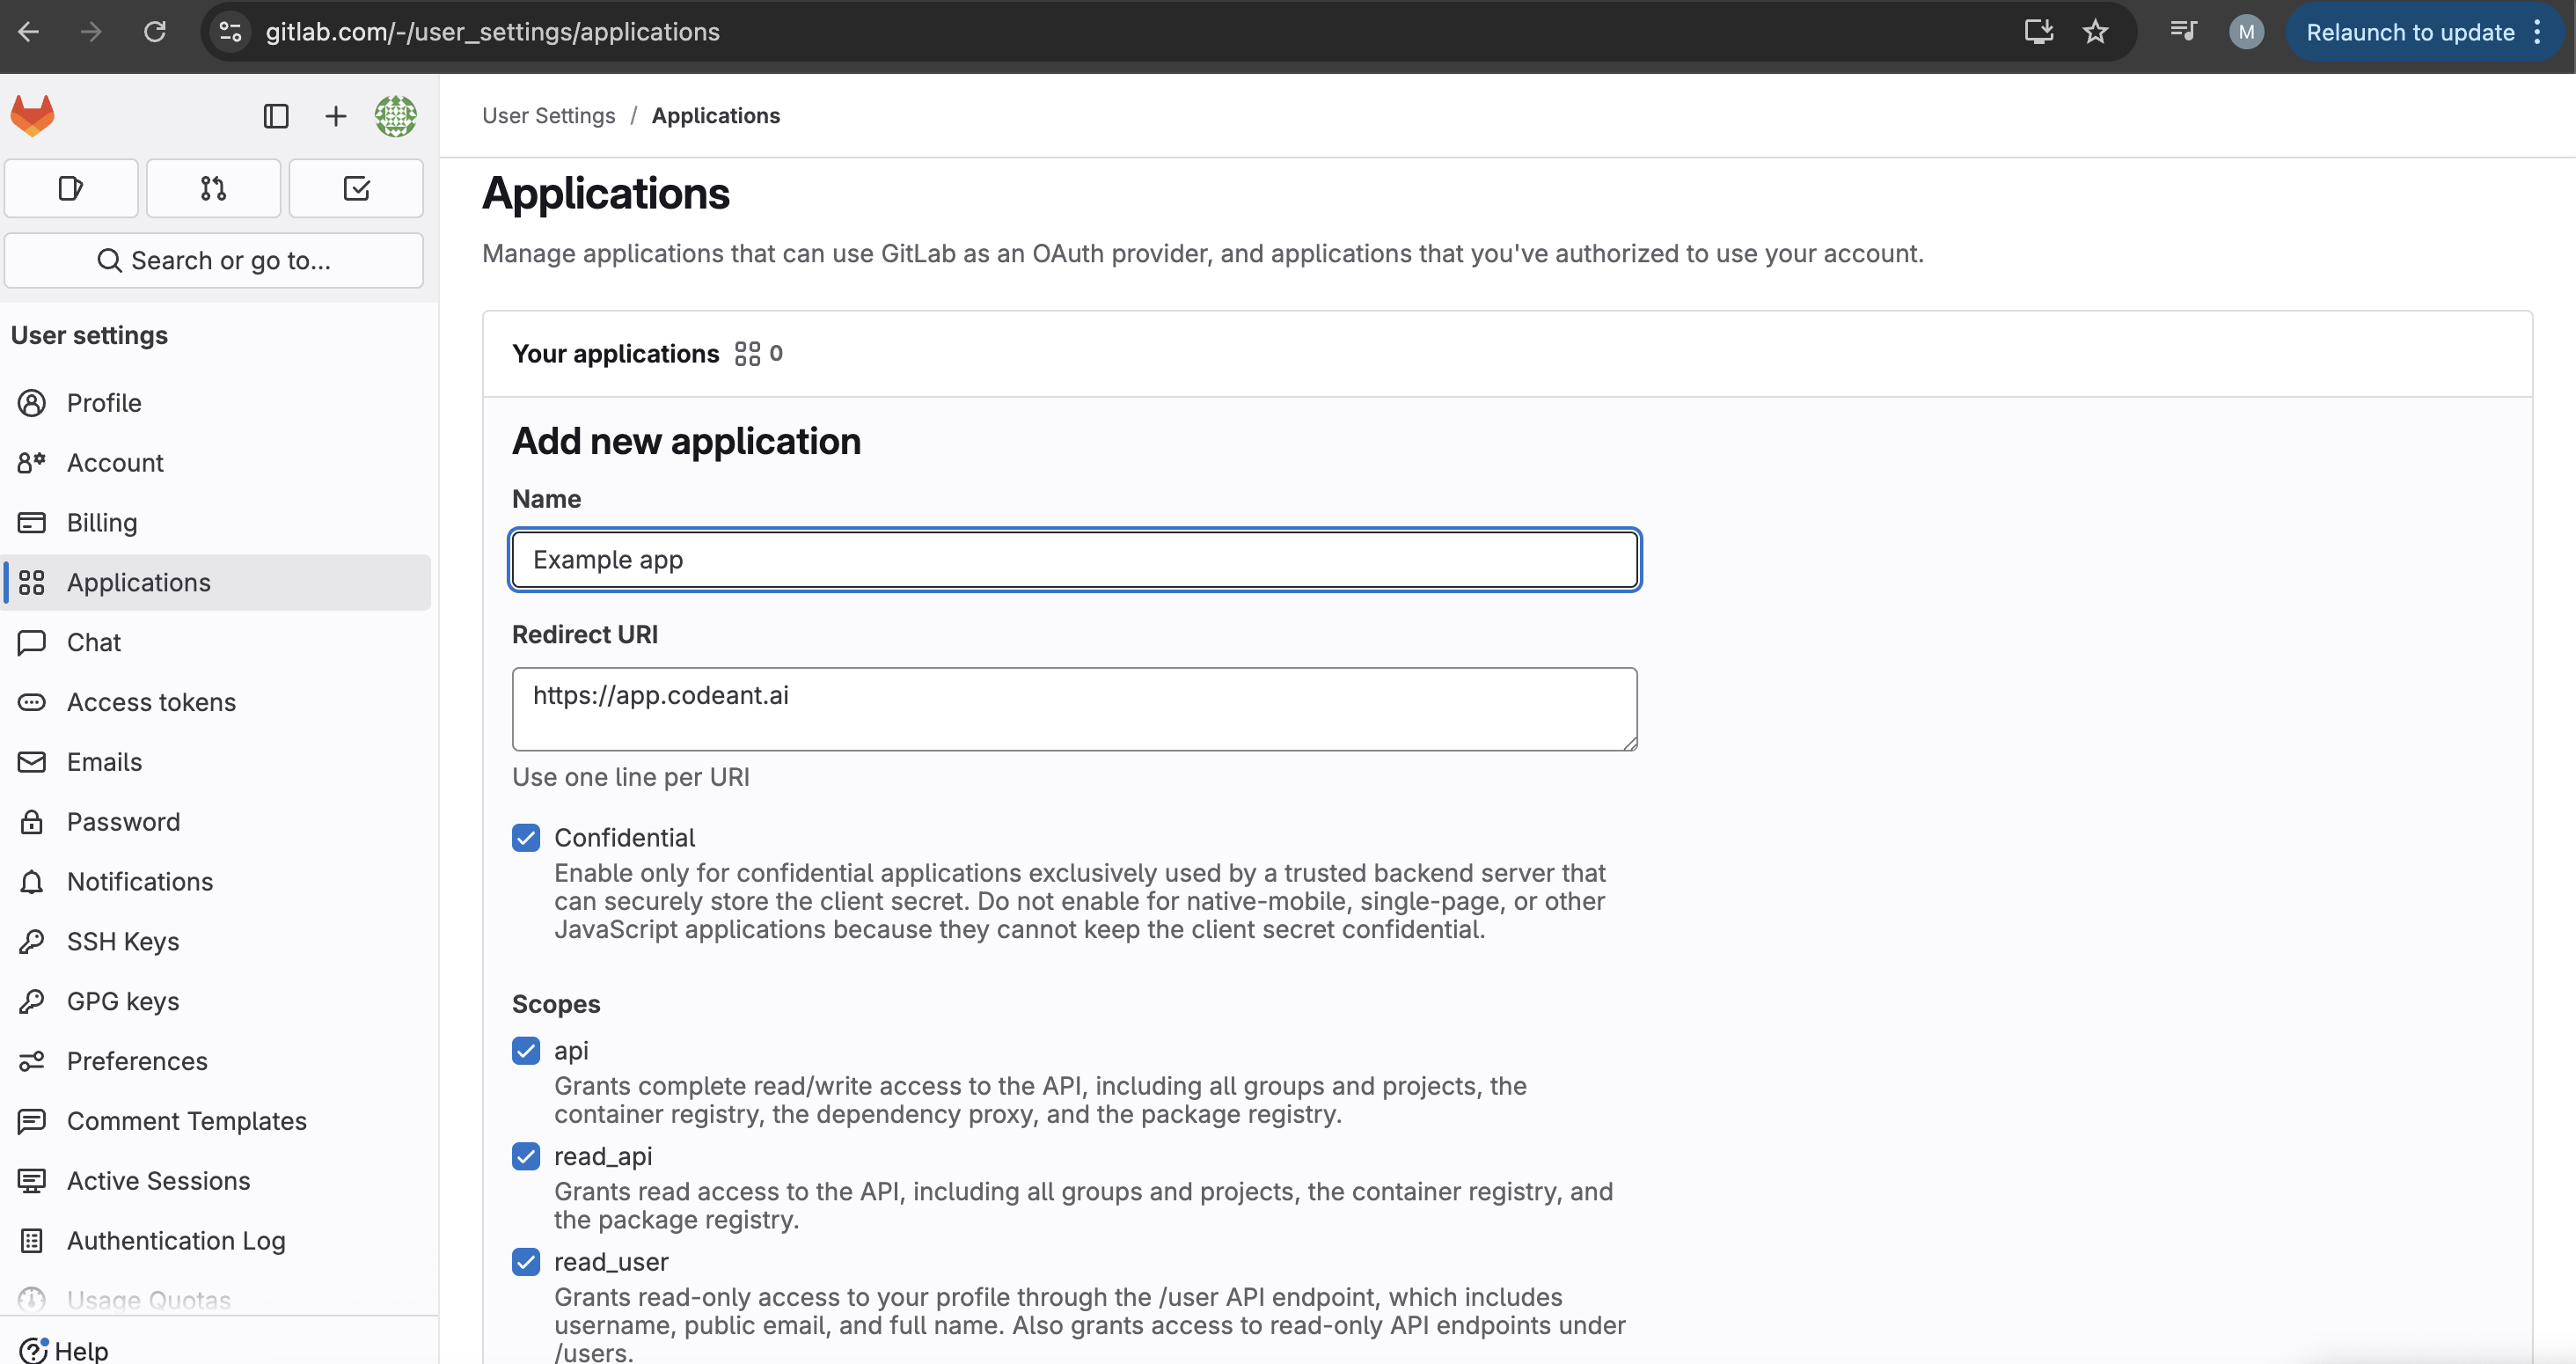
Configure the application
Record the credentials
GitLab shows the Application ID and Secret once. Copy both - you’ll paste them into CodeAnt AI in the next step.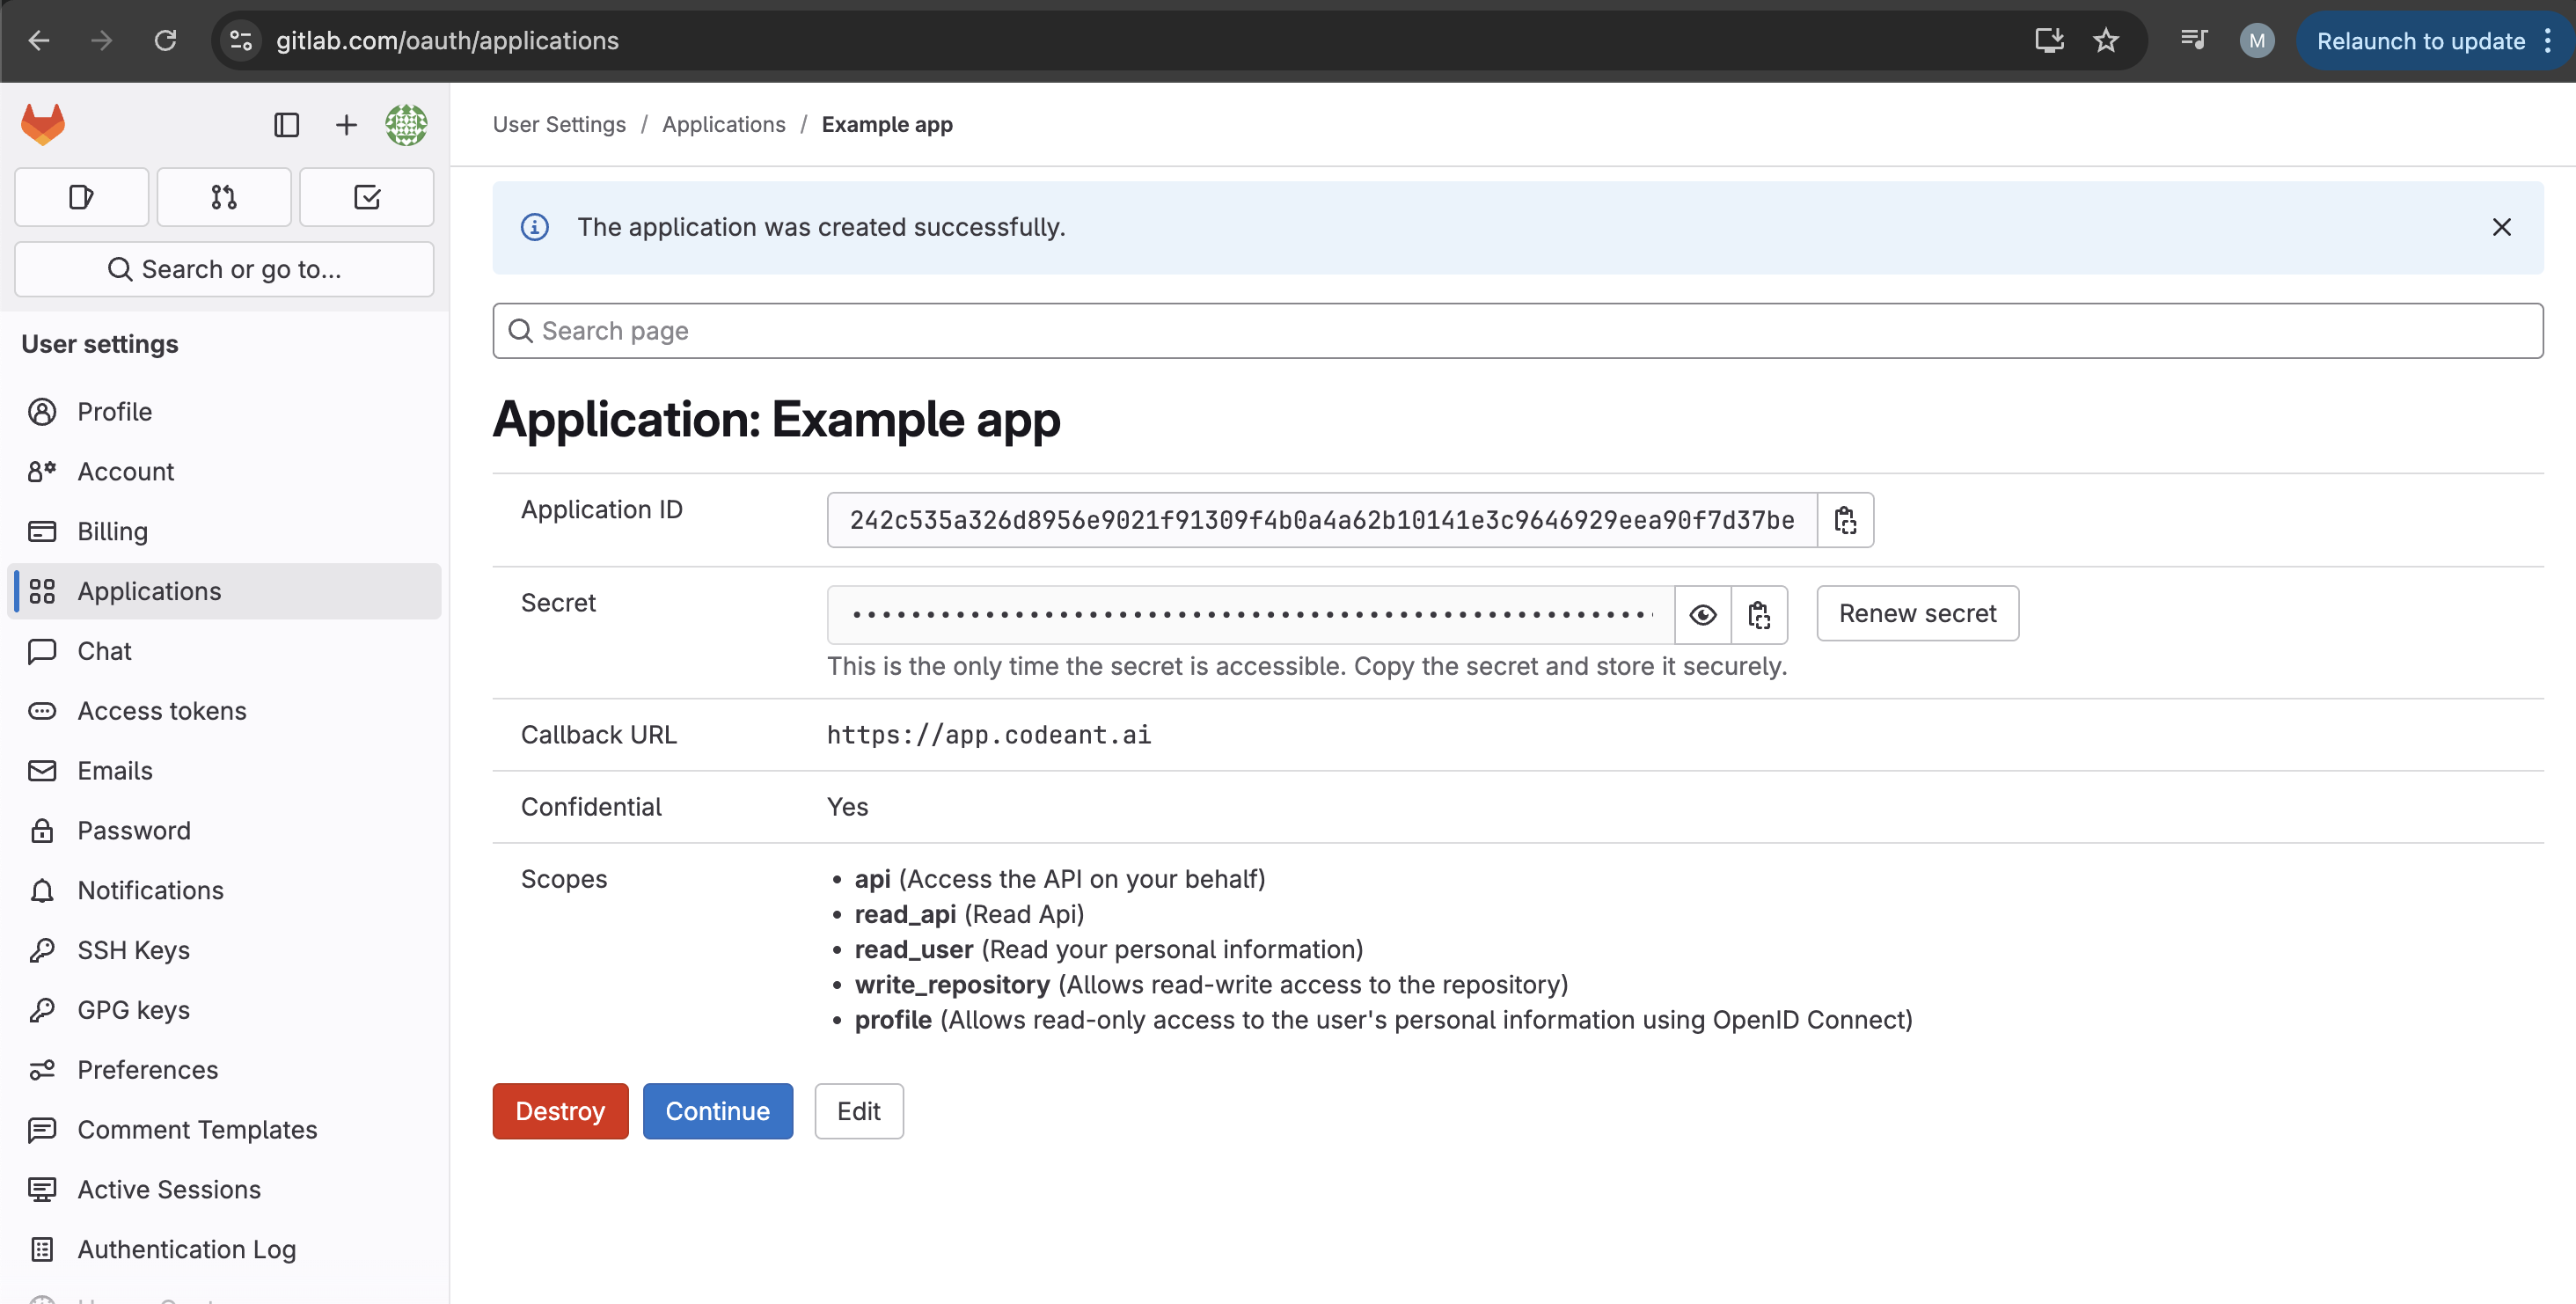
Step 2: Connect CodeAnt AI to your instance
- Go to app.codeant.ai and choose the Self-Hosted tab on the sign-in page.
- Click GitLab Self-Managed and enter your GitLab base URL (for example
https://gitlab.example.com). - If CodeAnt AI doesn’t yet have an OAuth client registered for that URL, you’ll be taken to the Self-Hosted GitLab Details screen. Paste the Application ID and then the Secret from Step 1.
- CodeAnt AI redirects you to your GitLab instance to authorize the application. After you approve, you’ll be returned to CodeAnt AI signed in.
Step 3: Configure the access token
CodeAnt AI uses an access token to call the GitLab API on your behalf and to install per-project webhooks automatically. The flow is the same as GitLab Cloud.Configure your GitLab access token
Generate the token in GitLab, paste it into CodeAnt AI, and CodeAnt installs webhooks on the projects you select.
Network requirements
If your GitLab instance is behind a firewall or on a private network:- Inbound to GitLab from CodeAnt AI: allowlist CodeAnt AI’s egress IPs so CodeAnt AI can reach your GitLab API for OAuth, repo cloning, and webhook installation.
- Outbound from GitLab to CodeAnt AI: the GitLab webhooks deliver to
https://vcs.codeant.ai. Make sure your instance can reach that hostname over HTTPS (port 443). - SSL: CodeAnt AI requires SSL verification on webhooks. Use a valid TLS certificate on your GitLab instance.
Need the egress IP list? Contact support@codeant.ai and the team will share CodeAnt AI’s outbound IP ranges so your firewall admins can complete the allowlist.
SSH-only GitLab instances: CodeAnt AI clones repositories over HTTPS by default. If your instance disables HTTPS cloning and requires SSH, contact support@codeant.ai before onboarding so the team can confirm transport support and the required key configuration.
Troubleshooting
OAuth redirect mismatch / 'redirect_uri does not match'
OAuth redirect mismatch / 'redirect_uri does not match'
The Redirect URI in the GitLab application must be exactly
https://app.codeant.ai. Trailing slashes, http://, or any other path will fail. Edit the application in GitLab and click Save.Sign-in works but no projects appear
Sign-in works but no projects appear
Sign in confirms the OAuth app - but project access requires the access token in Step 3. Make sure the token is configured in Settings → Configure Token in CodeAnt AI, and that the token’s user has at least Maintainer access on the projects.
Webhook auto-install fails for some projects
Webhook auto-install fails for some projects
The auto-install uses the saved access token. If a specific project fails, the token user is missing Maintainer access on that project, or your network blocks CodeAnt AI from reaching the GitLab API. Fix the permission (or the network path) and reconfigure the token to retry.
GitLab can't reach CodeAnt AI to deliver webhooks
GitLab can't reach CodeAnt AI to deliver webhooks
Open the webhook in GitLab (Settings → Webhooks on the project) and click Test → Merge request events. If the call fails, check that your instance can reach
vcs.codeant.ai over HTTPS and that the webhook has SSL verification enabled.